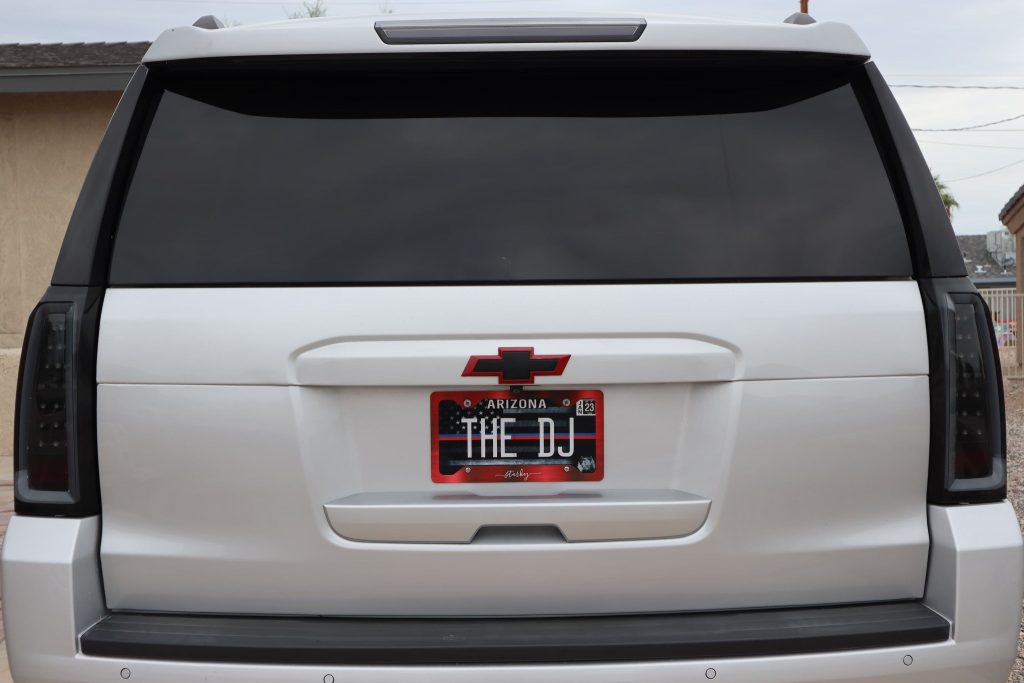
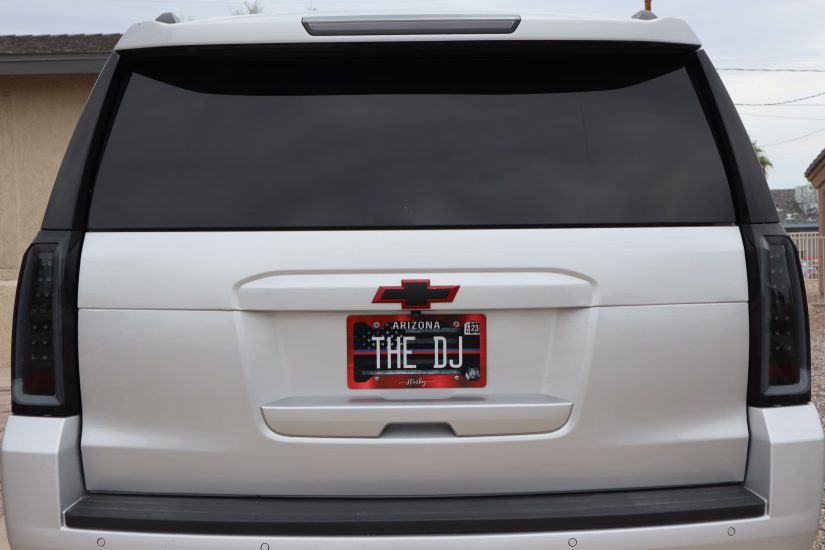
MOD #8: Black Smoke Premium OLED Neon Tube Full-LED Tail Brake Light
I was bummed when the guy from Ace Hardware told me he couldn’t re-tint the tail lights and headlights because they’re plastic and don’t work in this heat, so he can’t warranty it. I get it! He did encourage me to buy pre-smoked, so that’s exactly what I did.
Come to think of it, the tint wrap on the tail lights that took it to Version 2 would have been MOD #1. Oh well, let’s keep that our secret. Only the people actually reading this far into my journey will know. OK?
OK. So these are the taillights provided by the manufacturers….
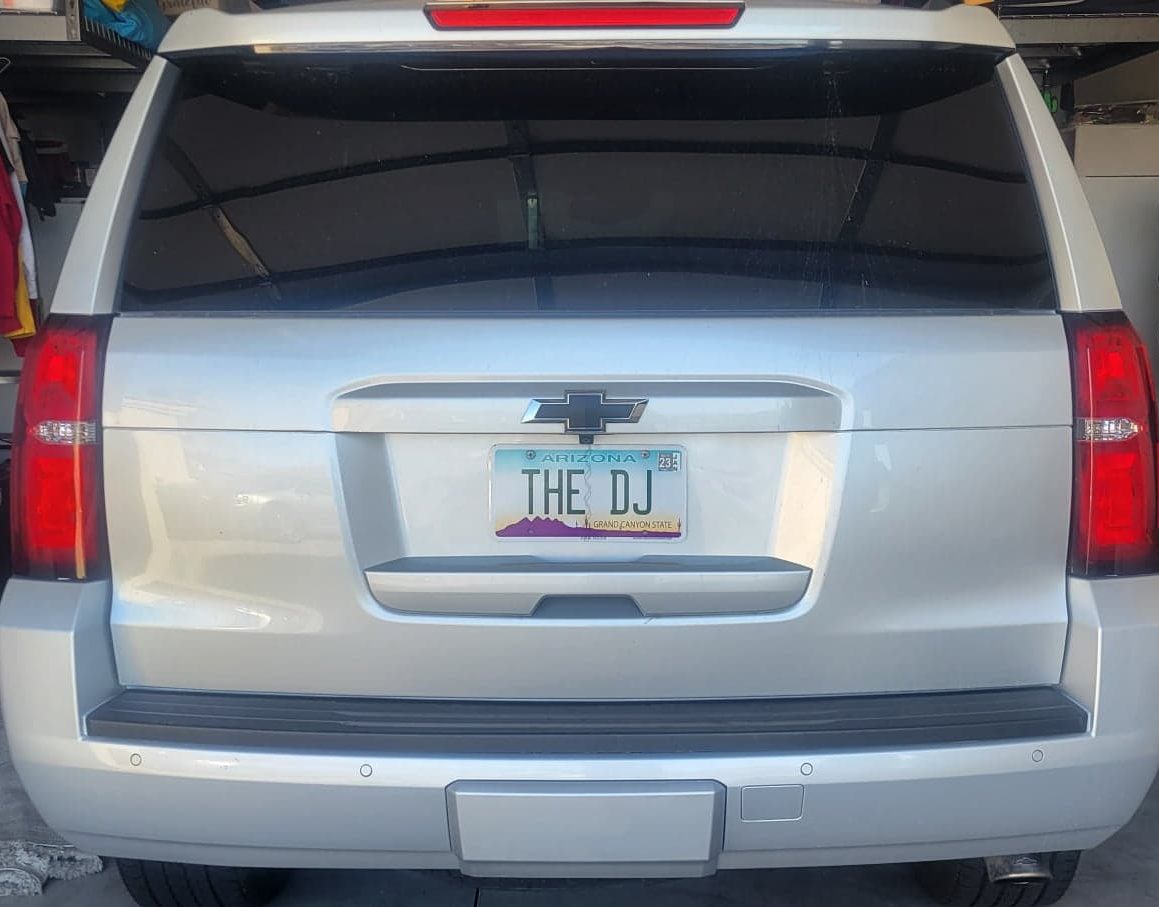
This is a tinted taillight.
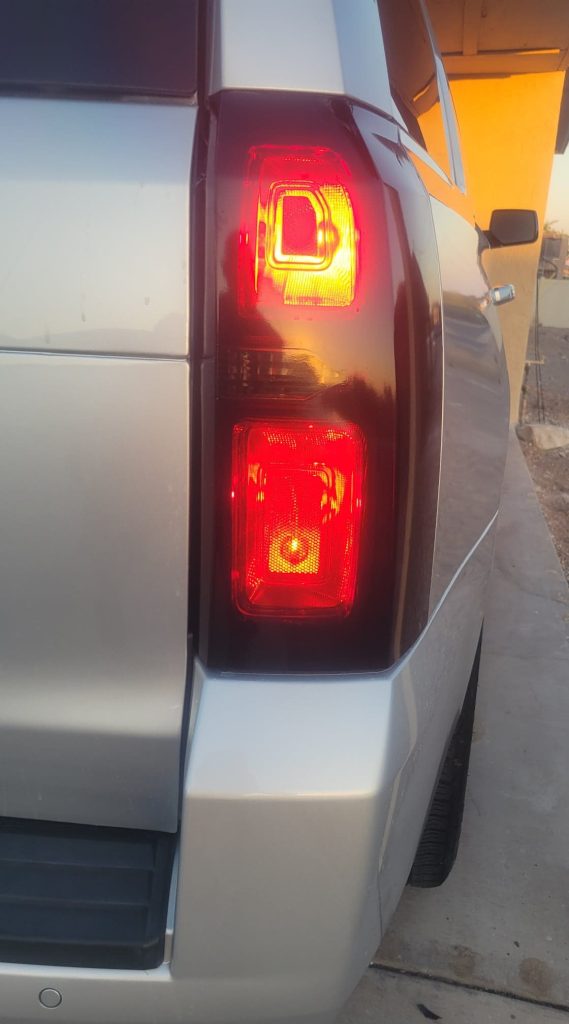
But here are the problems I was having…. You couldn’t see it until you were up close, but still.
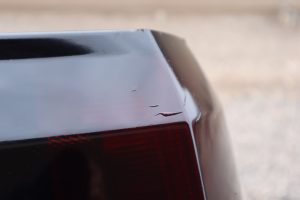
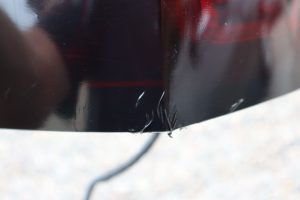
So that’s why I took the advice of the owner at Ace Tinting in Lake Havasu, and went and purchased all new taillights.
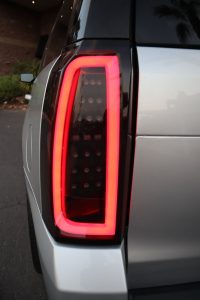
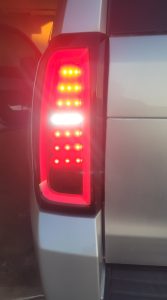
INSTALLATION TIME: About 45 Minutes (most of it educating myself on how)
INSTALLATION STEPS: Open the lift gate. Pry the plastic off to the inside of the tail light to expose bolts. Before removing the tail light, I recommend getting under your vehicle and find the plug that ties the system together,and unplug it. (See below for a 2019 Chevy Tahoe)
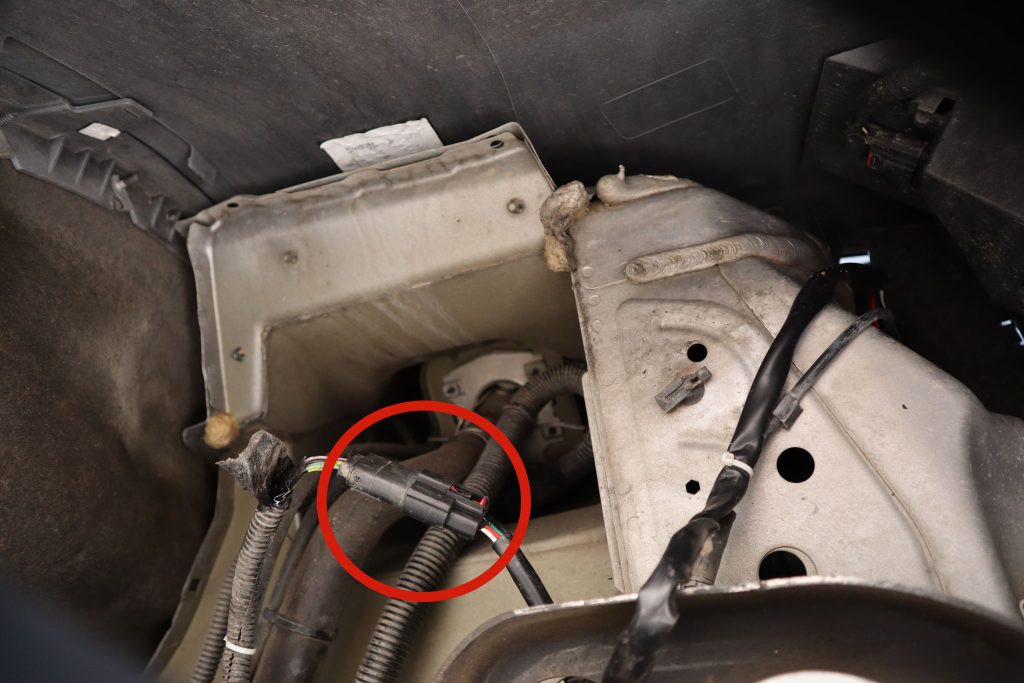
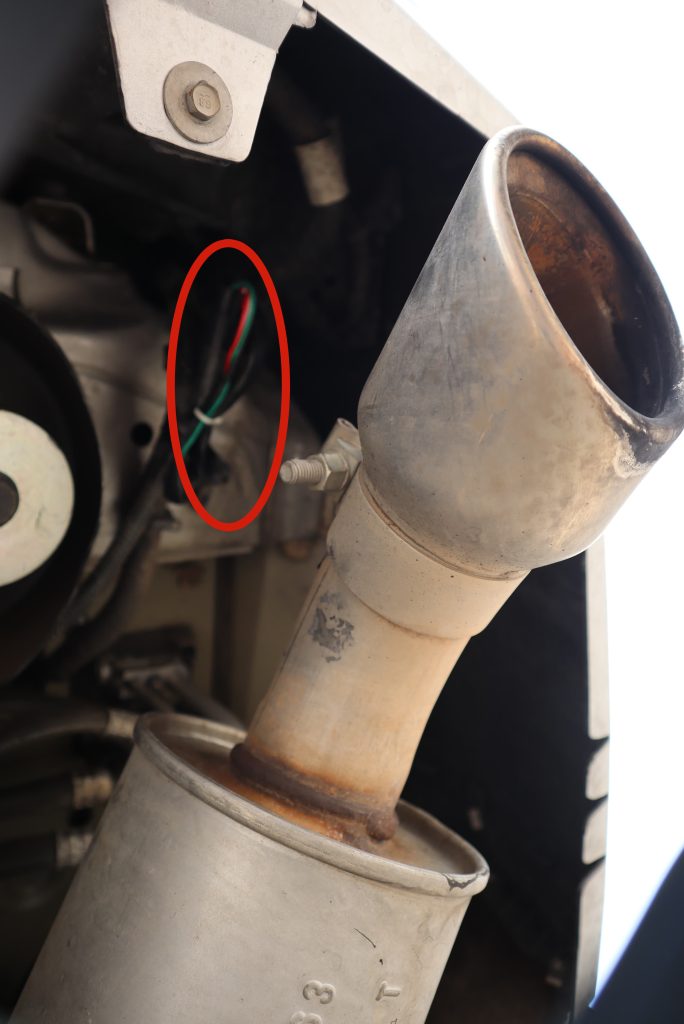
COST: $269.88
ORDER AT: https://www.amazon.com/dp/B07CB8W5H5?psc=1&ref=ppx_yo2ov_dt_b_product_details
Don’t forget the top tail light…

IMPORTANT NOTE…
For my vehicle, the previous nuts from the old unit were larger than the bolts on this one. So find some smaller nuts before you start taking this out.
COST: $63.31
ORDER AT: https://www.amazon.com/dp/B07YGXKJSY?psc=1&ref=ppx_yo2ov_dt_b_product_details
….And then you end up with….
